Portrait

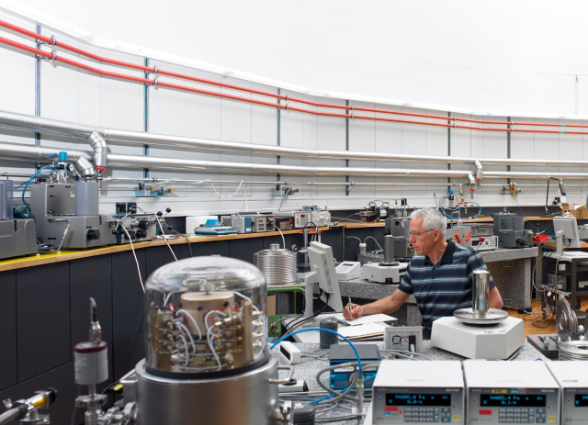
A broad spectrum of activities based on physical dimension is covered by the laboratory force, pressure and weighting instruments.
Force
The force is the result of the action of acceleration on a mass. The force is generated in the laboratory using calibrated masses in the range 2.5 N up to 100 kN. A weight bridge with force generation using a hydraulic piston is used from 100 kN up to 2 MN. We are able to generate force in compression as well as traction.
Weighing instruments
A weighing instrument measures a force (the weight) and the calibration or approbation of this type of instrument requires similar equipment than force calibration.
Pressure
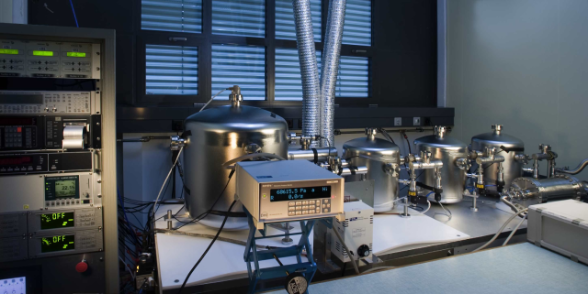
The pressure is defined as a force per unit area. In practice, the pressure is generated using rotating piston manometers in the range 10 kPa up to 1 GPa. A system with fixed piston and force generation is used from 10 Pa up to 10 kPa. Pressure in the range 10-5 Pa to 10 Pa is defined by static expansion of gas.
The laboratory performs calibration, in all the range, in absolute pressure, and above 1 Pa in gauge pressure.
Services

The calibration laboratory is working according to the norm ISO 17025 and the calibration certificates are recognized worldwide.
Calibration
Force
We perform routinely the calibration of force sensors according to ISO 376 from 2.5 N up to 100 kN. We also apply simplified technique for sensor with lower precision.
Pressure
The laboratory is able to calibrate pressure sensors from 105 Pa to 109 Pa. The laboratory can determine the effective area of piston cylinder units used in pressure balance.
Weighing instruments
We perform the verification of weighing instruments according to the « calibration guide 18 » published by Euramet.
Approval and conformity assessment
We perform the measurements required for the technical assessment of load cell (OIML R60) weighting instruments (OIML R76) or dynamic weighting instruments. Our certificates, after approbation by MetasCert, are recognized according to the rules of the OIML and are even included in a mutual acceptance agreement (OIML MAA) for the OIML R60 and OIML R76.
Research and development
In order to maintain an uncertainty and a calibration span in correlation with the need of our customers, we continuously improve our measurement systems and our procedures. This research and development effort is performed internally but also in the framework of projects with other national metrology institutes or with private partners.
Our main research activities are along the following directions:
- Improvement of the measurement uncertainty in pressure from 10 Pa to 10 kPa.
- Improvement of the measurement uncertainty in pressure above 100 MPa
- Improvement of the procedures and of the measurement uncertainty above 200 kN
- Traceability of the force under 1 mN.
Further information
Last modification 07.11.2024
Contact
Federal Institute of Metrology
Laboratory Mass, Force and Pressure
Lindenweg 50
CH-3003
Bern-Wabern
T
+41 58 387 01 11

